
Views: 0 Author: Site Editor Publish Time: 2026-09-15 Origin: Site


Oxy-fuel and gas cutting equipment failures present catastrophic operational and safety risks on the shop floor. Most industrial incidents stem directly from bypassed or rushed pre-use inspections. Undetected leaks and compromised valves turn routine fabrication tasks into severe hazards. Inconsistent inspection routines lead to premature equipment failure, regulatory fines, and unplanned downtime. Facility managers and lead fabricators must bridge the gap between theoretical safety compliance and actual daily practices. A standardized, evidence-based inspection framework evaluates equipment readiness and ensures strict compliance before an operator ever strikes an arc. This protocol dictates clear repair-versus-replacement decisions to keep operations running safely and efficiently. You will learn how to systematically inspect cylinders, regulators, hoses, and torches to eliminate hazards at the source.
Pre-use inspections must follow a strict, documented sequence: cylinders, regulators, hoses, flashback arrestors, and the cutting torch assembly.
Leak detection must rely exclusively on approved, oil-free solutions (e.g., specific soapy water mixtures); open-flame testing is a critical safety violation.
Identifying wear patterns on the cutting nozzle and torch valves early prevents gas starvation, backfires, and poor cut quality.
Establishing clear "repair vs. replace" thresholds for aging gas cutting components reduces long-term procurement costs and liability.
A successful inspection protocol achieves zero safety incidents and consistent cut quality. It significantly extends consumable lifespan across heavy fabrication projects. Daily checks ensure operators catch minor defects before they escalate into dangerous failures. When a shop implements a rigid inspection routine, the immediate result is a drop in consumable waste. Operators stop fighting their equipment and start producing cleaner cuts with less slag. This directly reduces grinding and secondary cleanup time.
Regulatory bodies mandate daily equipment checks to mitigate workplace hazards. Non-compliance carries severe legal ramifications and exposes facilities to massive liability. OSHA and HSE inspectors actively look for documented proof that operators check their gear. A missing inspection log during an audit often triggers immediate citations. Beyond compliance, identifying minor issues like micro-leaks or carbon buildup prevents systemic damage. Protecting expensive regulators and torches requires diligent, daily oversight from the entire fabrication team.
Equipment lifespan ties directly to how well operators maintain it. A small leak at the torch connection forces the regulator to work harder, wasting expensive gas. Carbon buildup inside the torch head alters the gas flow dynamics, leading to overheating. Catching these issues early means you replace a cheap O-ring instead of an entire torch body. Standardized inspections create a baseline for equipment health across the entire facility.
Visual inspection of gas cylinders is the first mandatory step. Operators must check for physical damage, arc burns, or severe corrosion. A cylinder with an arc burn is structurally compromised and must be removed from service immediately. "Cracking" the cylinder valve clears dust before attaching the regulator. The operator must stand to the side and briefly open and close the valve. Never stand directly in front of the valve outlet during this process.
Welding on or near gas cylinders is strictly prohibited under all circumstances. Keep bottles completely isolated from heat, open flames, and flying sparks. A stray spark landing on a cylinder valve can ignite residual gas instantly. Verify all cylinder securing mechanisms, including chains, carts, or racks. Cylinders must remain upright and secured to prevent tipping or impact damage. A falling high-pressure cylinder can shear its valve, turning the heavy steel tank into an unguided projectile.
Inspect the cylinder body for deep gouges, dents, or heat damage.
Verify the cylinder label matches the required gas type.
Check the valve threads for dirt, oil, or physical deformation.
Stand to the side and crack the valve for a fraction of a second to clear debris.
Ensure the cylinder cart or wall chain is tight and secure.
Inspect regulator threads and seating surfaces for wear or cross-threading. Damaged threads prevent a secure seal and cause immediate gas leaks. Never force a regulator onto a cylinder valve. If it does not thread smoothly by hand, the threads are damaged. Pressure gauges must have intact, clear, and readable faces. A broken gauge lens allows dirt to enter the internal mechanism, causing inaccurate readings.
Needles must rest exactly at zero when the system remains unpressurized. A needle resting above zero indicates a bent internal bourdon tube. Confirm that pressure adjusts smoothly when turning the regulator screw. The mechanism must operate without creeping, binding, or sudden pressure spikes. Pressure creep occurs when the delivery pressure slowly rises after you set it, indicating a failing internal valve seat.
Conduct visual and tactile checks for twin-line oxygen and fuel gas hoses. Operators must look for dry rot, cuts, burns, or soft spots. Run your bare hands along the length of the hose to feel for bulges or weak areas. Route hoses away from high-traffic zones, sharp edges, and hot slag. Suspend hoses off the ground whenever possible to prevent forklift damage or tripping hazards.
Flashback arrestors and check valves require mandatory verification at both ends. Install them at the regulator and the cutting torch. Dual-end placement prevents backfire from propagating back through the hose. A check valve only stops reverse gas flow, while a flashback arrestor extinguishes an actual flame front. You must use both to ensure complete system safety.
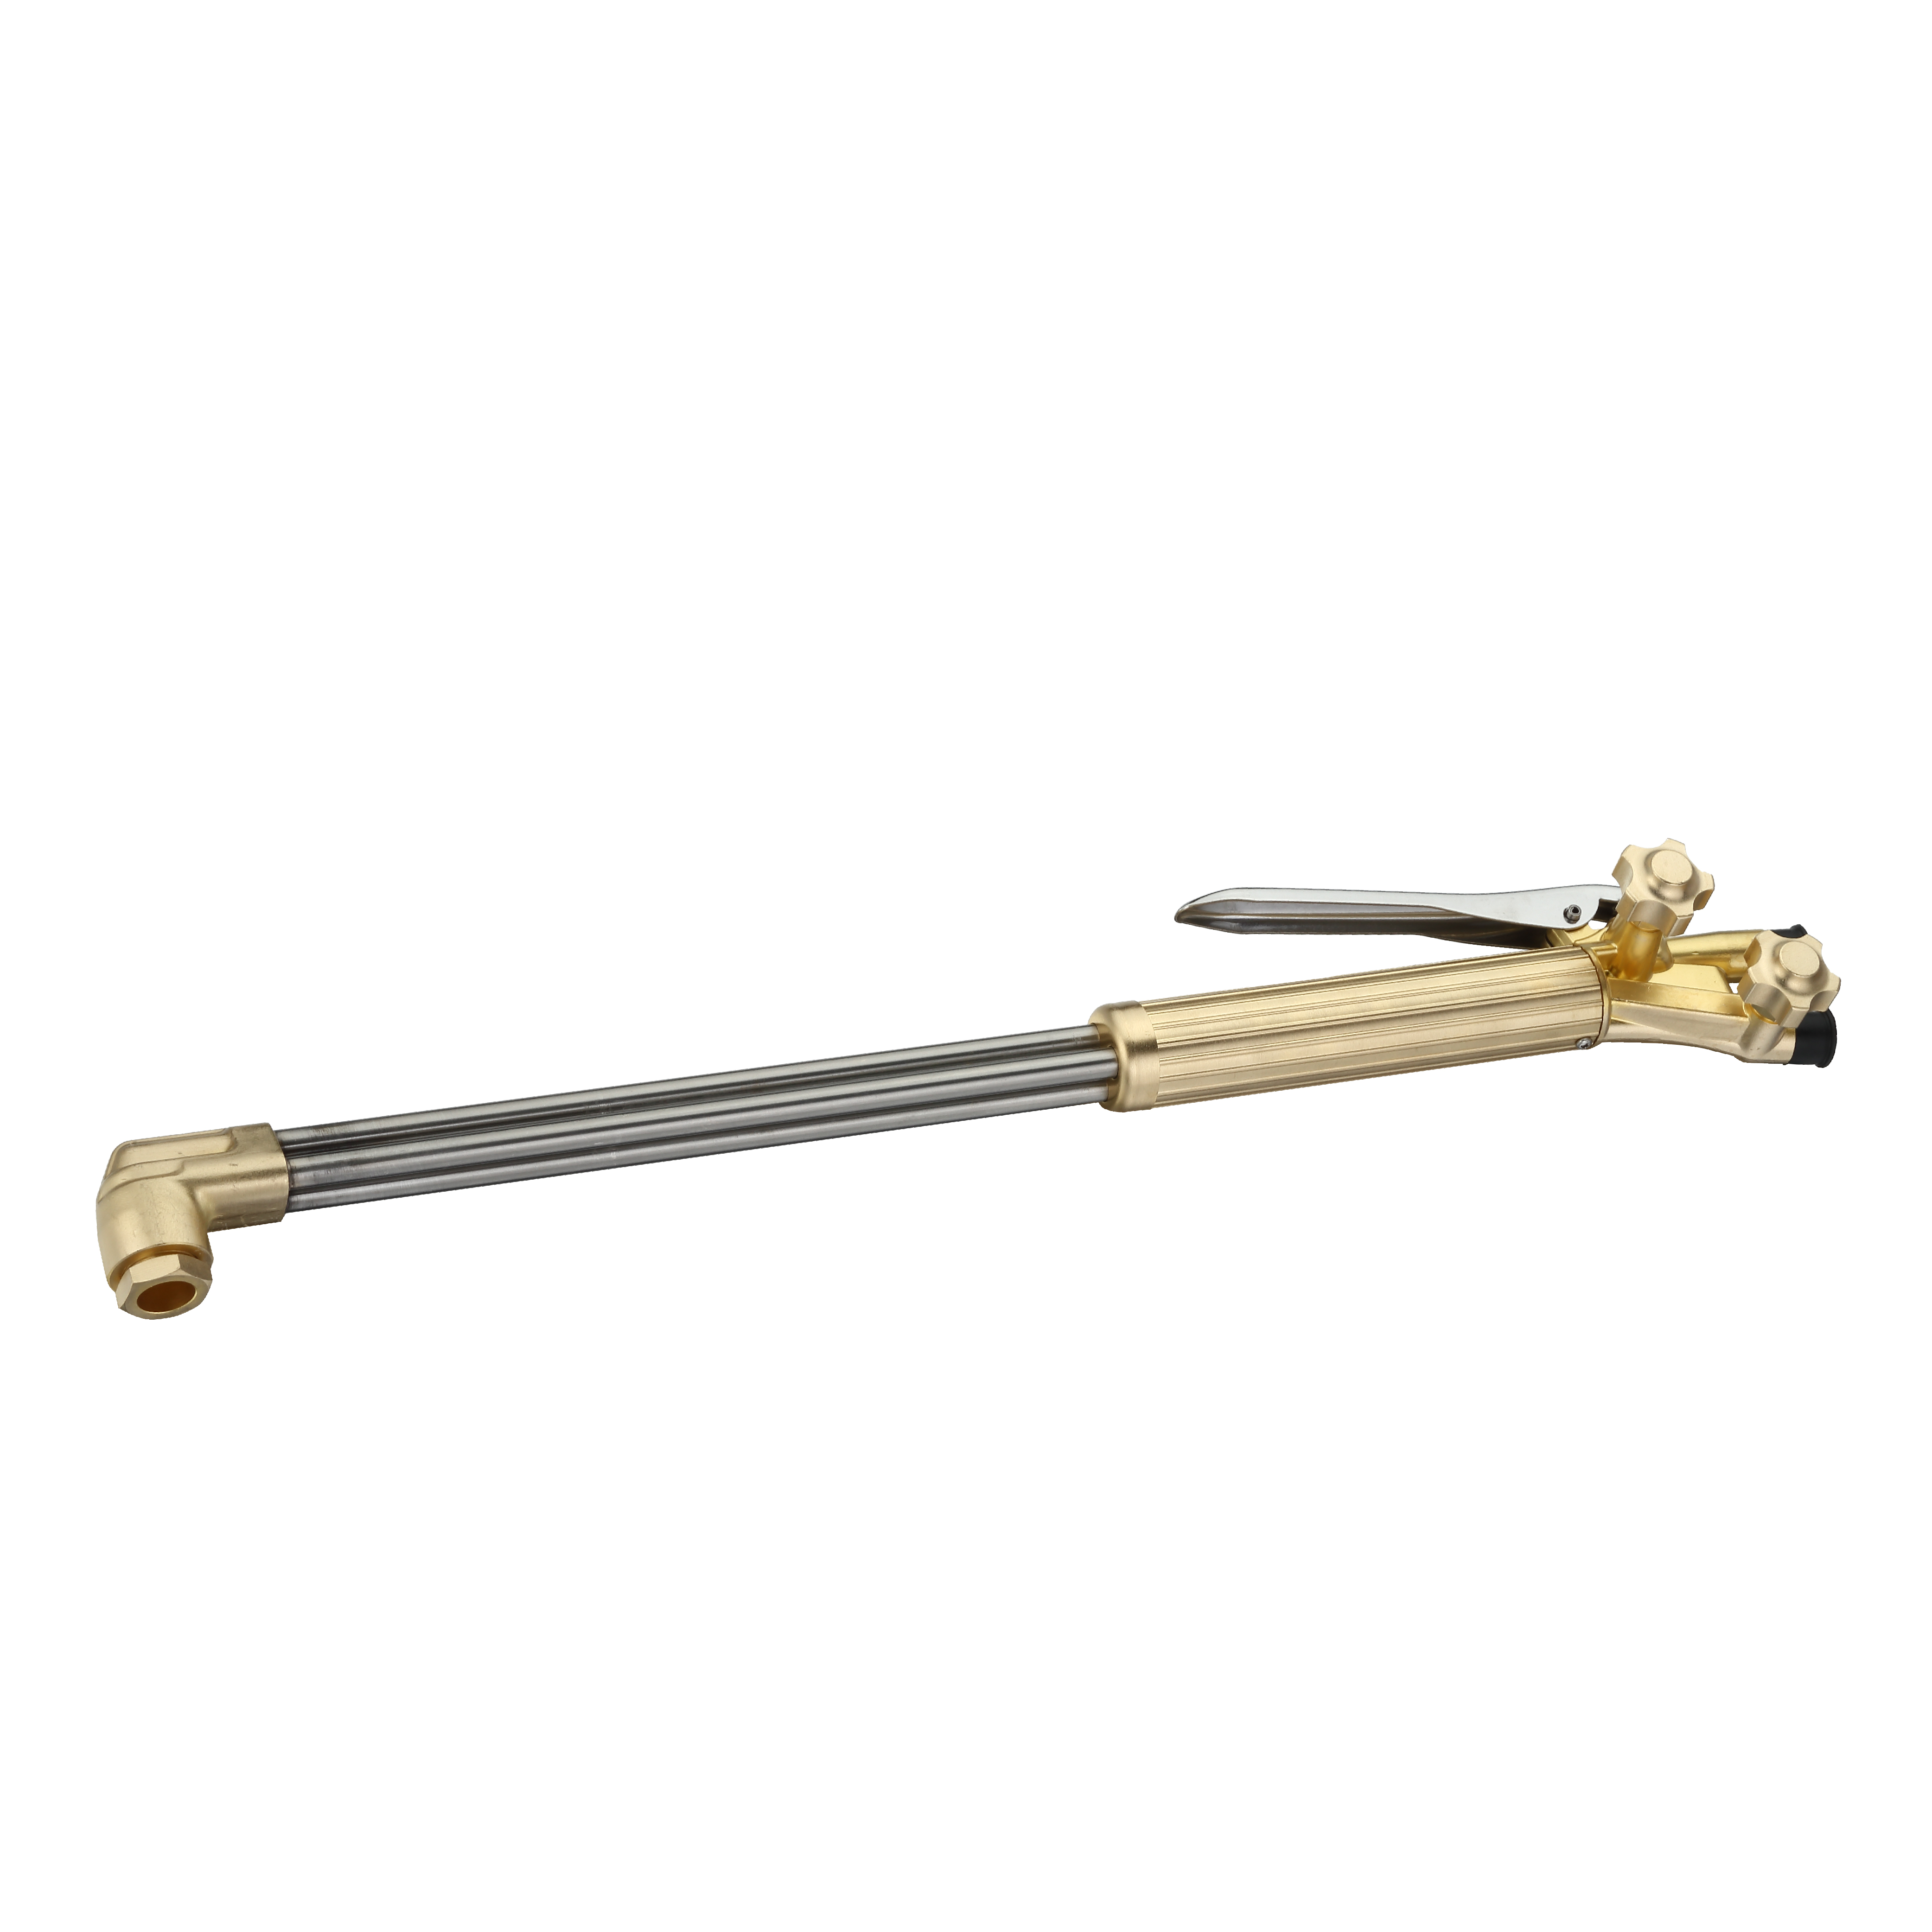
Physical inspection of the torch body focuses on valve knob tension. The oxygen and fuel valves should turn smoothly with slight resistance. Loose valves can vibrate open during operation, altering the flame chemistry. Check the thread condition on the torch head and ensure the absence of structural cracks. A cracked torch head will leak mixed gas, creating a severe fire hazard right at the operator's hands.
Evaluate the cutting nozzle for orifice distortion and slag buildup. Damaged seating surfaces cause dangerous gas mixing inside the torch head. Look at the preheat holes; they must be perfectly round and clear of debris. Replace compromised tips immediately to maintain safe operation. Trying to cut with a damaged nozzle wastes gas and produces heavy dross that requires extensive grinding.
Industry-standard commercial leak detection fluids provide the most reliable results. These fluids are specifically formulated to be oil-free and safe for oxygen systems. Approved DIY soapy water mixtures offer a viable alternative if formulated correctly. You must use a soap that contains zero animal fats or petroleum-based additives. Apply leak detection fluid to every single joint and valve seat. Coat all connection points thoroughly before each use.
The absolute prohibition of using a flame to check for leaks remains non-negotiable. Open-flame testing causes immediate explosions and fatal injuries. Even a tiny leak can ignite violently if tested with a lighter or striker. Always rely on the visual confirmation of bubbles forming at the connection points. Wipe away excess leak detection fluid with a clean, lint-free rag after testing.
Systematic pressurization isolates leaks safely and effectively. Close the torch valves and slowly open the cylinder valves. Opening the cylinder valve too quickly can cause a sudden pressure surge, damaging the regulator diaphragm. Apply leak detector to cylinder-to-regulator and regulator-to-hose connections. Check the hose-to-torch joints for any bubbling. Even microscopic bubbles indicate a leak that requires tightening or component replacement.
Perform a pressure drop test by closing the cylinder valve. Monitor the gauges for pressure decay over a set timeframe, usually five minutes. A dropping needle indicates a hidden leak requiring immediate attention. If the high-pressure gauge drops, the leak is between the cylinder and the regulator. If the low-pressure gauge drops, the leak is in the hose or the torch valves.
Test Location | Method | Pass Criteria | Fail Action |
|---|---|---|---|
Cylinder to Regulator | Apply approved fluid | No bubbles form | Close valve, clean threads, retighten |
Regulator to Hose | Apply approved fluid | No bubbles form | Check hose fitting for damage, replace if needed |
Hose to Torch | Apply approved fluid | No bubbles form | Tighten connection, check O-rings |
Entire System | Pressure drop test (5 mins) | Gauges remain steady | Isolate sections to find hidden leak |
Evaluating torch health requires a strict decision framework based on safety and economics. OEM rebuild kits replace worn O-rings and valve stems cost-effectively. Rebuilding a torch makes sense when the main brass body remains in excellent condition. However, full replacement becomes necessary when structural integrity fails. Irreversible damage includes warped torch heads or stripped internal threads.
Never attempt to salvage a torch with compromised internal gas channels. If a torch has suffered a severe sustained backfire, the internal tubes are likely weakened or melted. Heat discoloration near the mixing chamber is a clear indicator of internal burning. In these cases, discard the torch immediately. The cost of a new torch is negligible compared to the medical costs of an equipment explosion.
Routine cleaning uses tip cleaners to remove minor carbon deposits from the preheat holes. You must use the correct size file and push straight through to avoid altering the hole shape. Permanently compromised nozzles exhibit bell-mouthed orifices and deep seating scratches. A bell-mouthed orifice scatters the oxygen stream, making a clean cut impossible. Scratches on the seating cone allow oxygen and fuel gas to mix prematurely.
Replacing a degraded nozzle prevents wasted gas and poor cut quality. Operators often waste hours trying to tune a flame on a ruined tip. The low cost of a new tip outweighs the expense of ruined base metal and excessive grinding time. Keep a stock of fresh nozzles at the workstation to encourage operators to swap them out when performance drops.
Hose replacement depends on visual degradation and failed leak tests. Manufacturer date codes printed on the hose jacket provide a baseline for expected service life. Most industrial hoses require replacement every three to five years, regardless of appearance. UV exposure, shop chemicals, and constant flexing degrade the internal rubber lining over time.
Splicing or patching gas hoses is generally prohibited and highly dangerous. Tape or hose clamps cannot withstand the required operating pressures. A patched hose will eventually blow out, releasing a cloud of highly flammable gas. Always opt for full replacement when a hose sustains damage. Buy hoses in standard lengths and avoid coiling excess hose around the cylinders during operation.
Oxygen components face a critical risk of spontaneous combustion. Regulators and torch threads must never contact hydrocarbons. Oil, grease, and unapproved thread sealants cause violent explosions under pressure. This reaction requires no external spark; the friction of pressurized oxygen hitting the oil is enough to ignite it. Keep the inspection and storage environment completely oil-free.
Operators must wash their hands and wear clean gloves during setup. Never handle oxygen fittings with gloves previously used for handling oily steel plates. Do not store spare regulators or nozzles in toolboxes containing oily rags or lubricants. Dedicate a clean, dry cabinet specifically for gas equipment storage. If a regulator accidentally contacts oil, tag it out of service and send it to a certified technician for ultrasonic cleaning.
Operators sometimes pencil-whip inspection logs to save time. They check the boxes without actually looking at the equipment. Integrating pre-use checks into daily safety toolbox talks mitigates this risk. Supervisors must actively verify that checks occur before work begins. Spot-checking equipment on the floor keeps operators accountable for their daily inspections.
A printable daily safety checklist structures shop-floor operations effectively. Documented accountability ensures equipment remains in safe working order. The checklist should be simple, requiring specific visual and physical verifications rather than generic checkmarks. Tie the completion of the checklist to the daily hot work permit process. This administrative control forces the inspection to happen before any cutting begins.
Audit your current shop-floor setups immediately to identify any bypassed safety checks or damaged components.
Download and implement a standardized daily inspection checklist tailored to your specific fabrication environment.
Consult with certified equipment suppliers to replace aging regulators, hoses, and torches with modern, safety-integrated models.
Establish a strict schedule for replacing consumable parts to maintain optimal cut quality and prevent gas waste.
A: Apply an approved, oil-free commercial leak detection fluid or a specific soapy water mixture to all joints, valves, and connections. Pressurize the system and watch for bubbles. Never use an open flame to check for leaks.
A: A cutting torch requires a thorough visual and functional inspection before every single use. Operators must check for thread damage, valve tension, and structural cracks daily.
A: Replace the nozzle when you observe bell-mouthed orifices, deep scratches on the seating surfaces, or distortion that cannot be fixed with a standard tip cleaner.
A: Dual-end placement prevents a backfire or flashback from traveling through the hose and reaching the cylinder. This setup isolates the flame and prevents catastrophic explosions.
A: Absolutely not. Pure oxygen reacts violently with oil, grease, and other hydrocarbons, causing spontaneous combustion and fatal explosions. Never use oil on any gas cutting equipment.
A: Stand to the side of the cylinder outlet and briefly open and close the valve quickly. This blows out accumulated dust before attaching the regulator.